May 16, 2014

Play-dough Mats!

I wish I could take credit for this idea but it belongs to someone else. I found these cute play-dough play mats while searching for fun daycare crafts and activities on Pinterest. Here is the link to print off your own.


I simply printed off my set using my colored printer and put them through my laminator so the play dough mats can be used over and over again! The kids love them. Some of the play mats give you suggestions of what to do with them. (Example: the crocodile as you to make him some teeth!)


My daughter approves of these play-dough mats.....she spent almost three whole hours playing with these on morning at the kitchen table!


Pictured below is the back side of the play mats!


The play-dough I picked up for super cheap at Target using a coupon....I spent around $2 on a large package of them (and put them in my kids Easter basket) but I also like making homemade play-dough when our store-bought ones dry out!

May 12, 2014

Spoon Letter Match Ups!


Here is a great way to help your little one practice matching upper case to lower case letters of the alphabet!

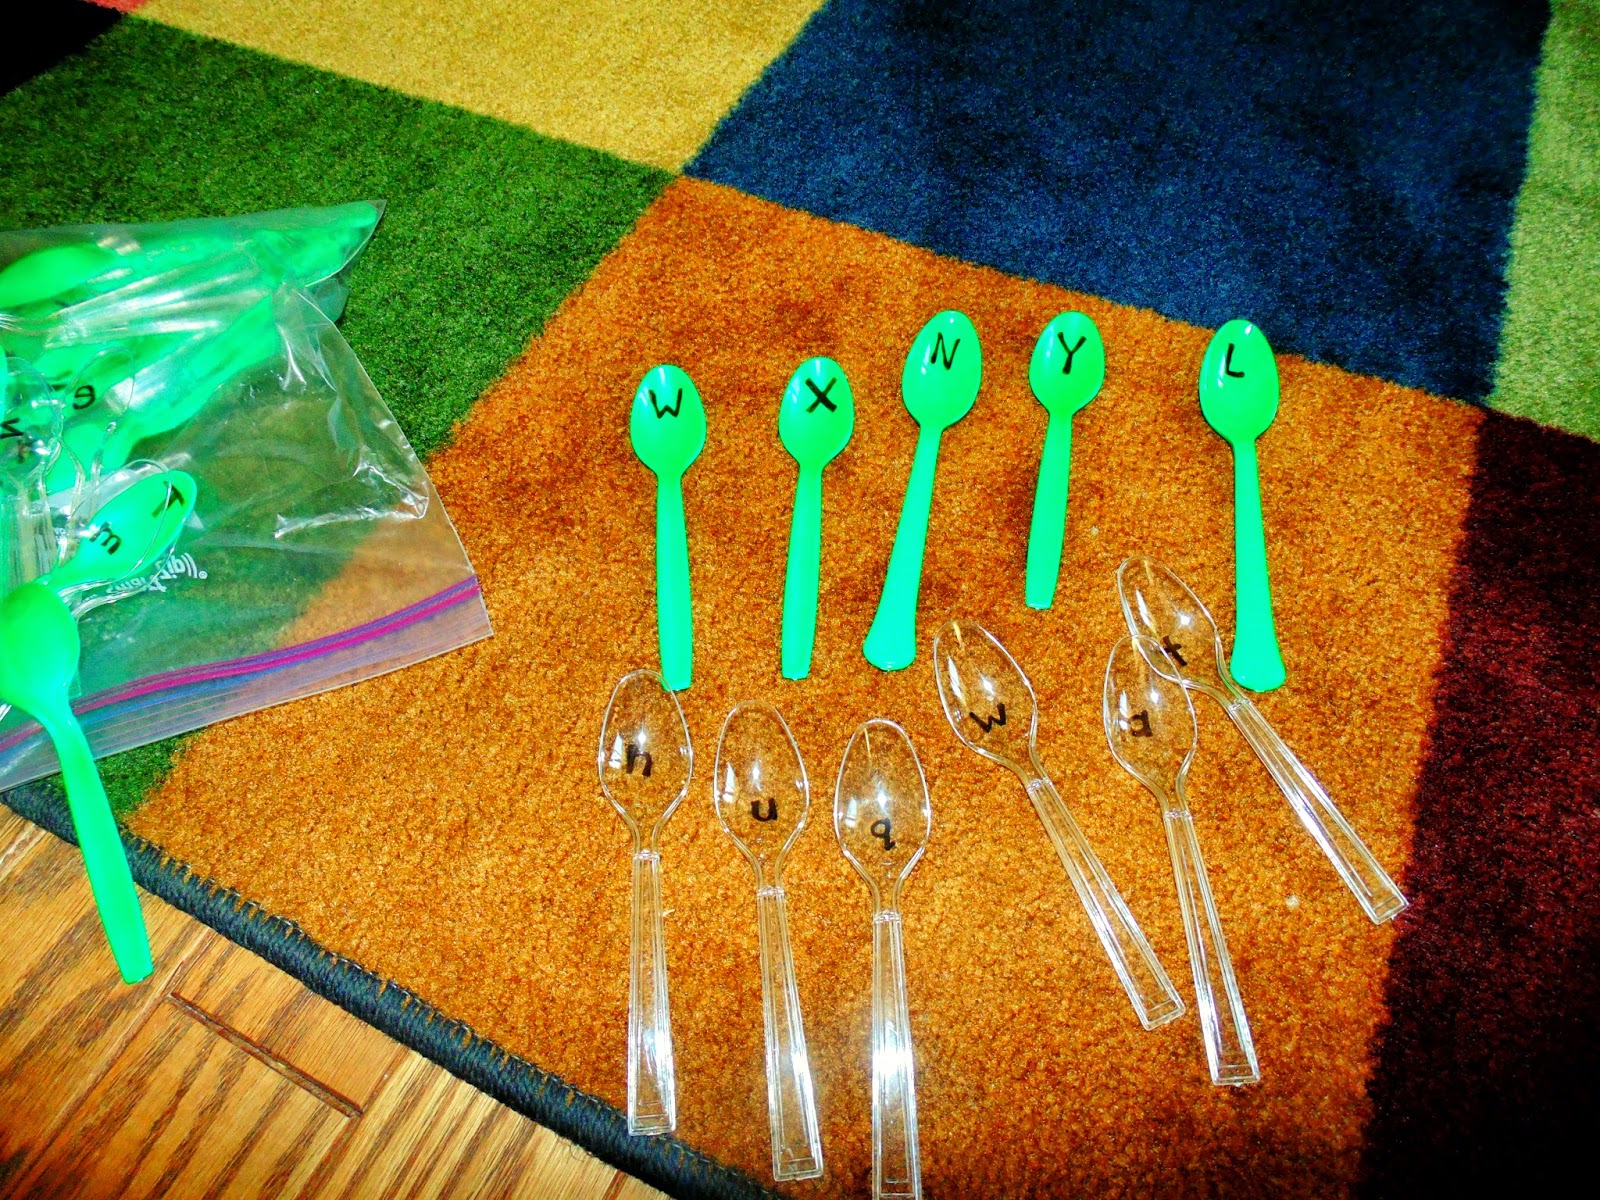
Using green plastic disposable spoons and clear plastic disposable spoons I purchased from the Dollar Tree (I love that store!) and a black sharpie marker I wrote the upper case letter on the front of the green spoon and the lower case letter on the clear spoon.

 
When your child finds a match just place the clear spoon on top of the colored spoon!

Picture below: The lower case letter "n" was placed on top of the upper case letter "N" to show a match!

Here is a close up shot of a letter match up! 


For storage I just put them into a zip top baggie for easy storage. Note: the baggie should be kept out of reach of little ones (or at least used with supervision).

May 9, 2014

DIY Color Recognition & Color Matching Activities

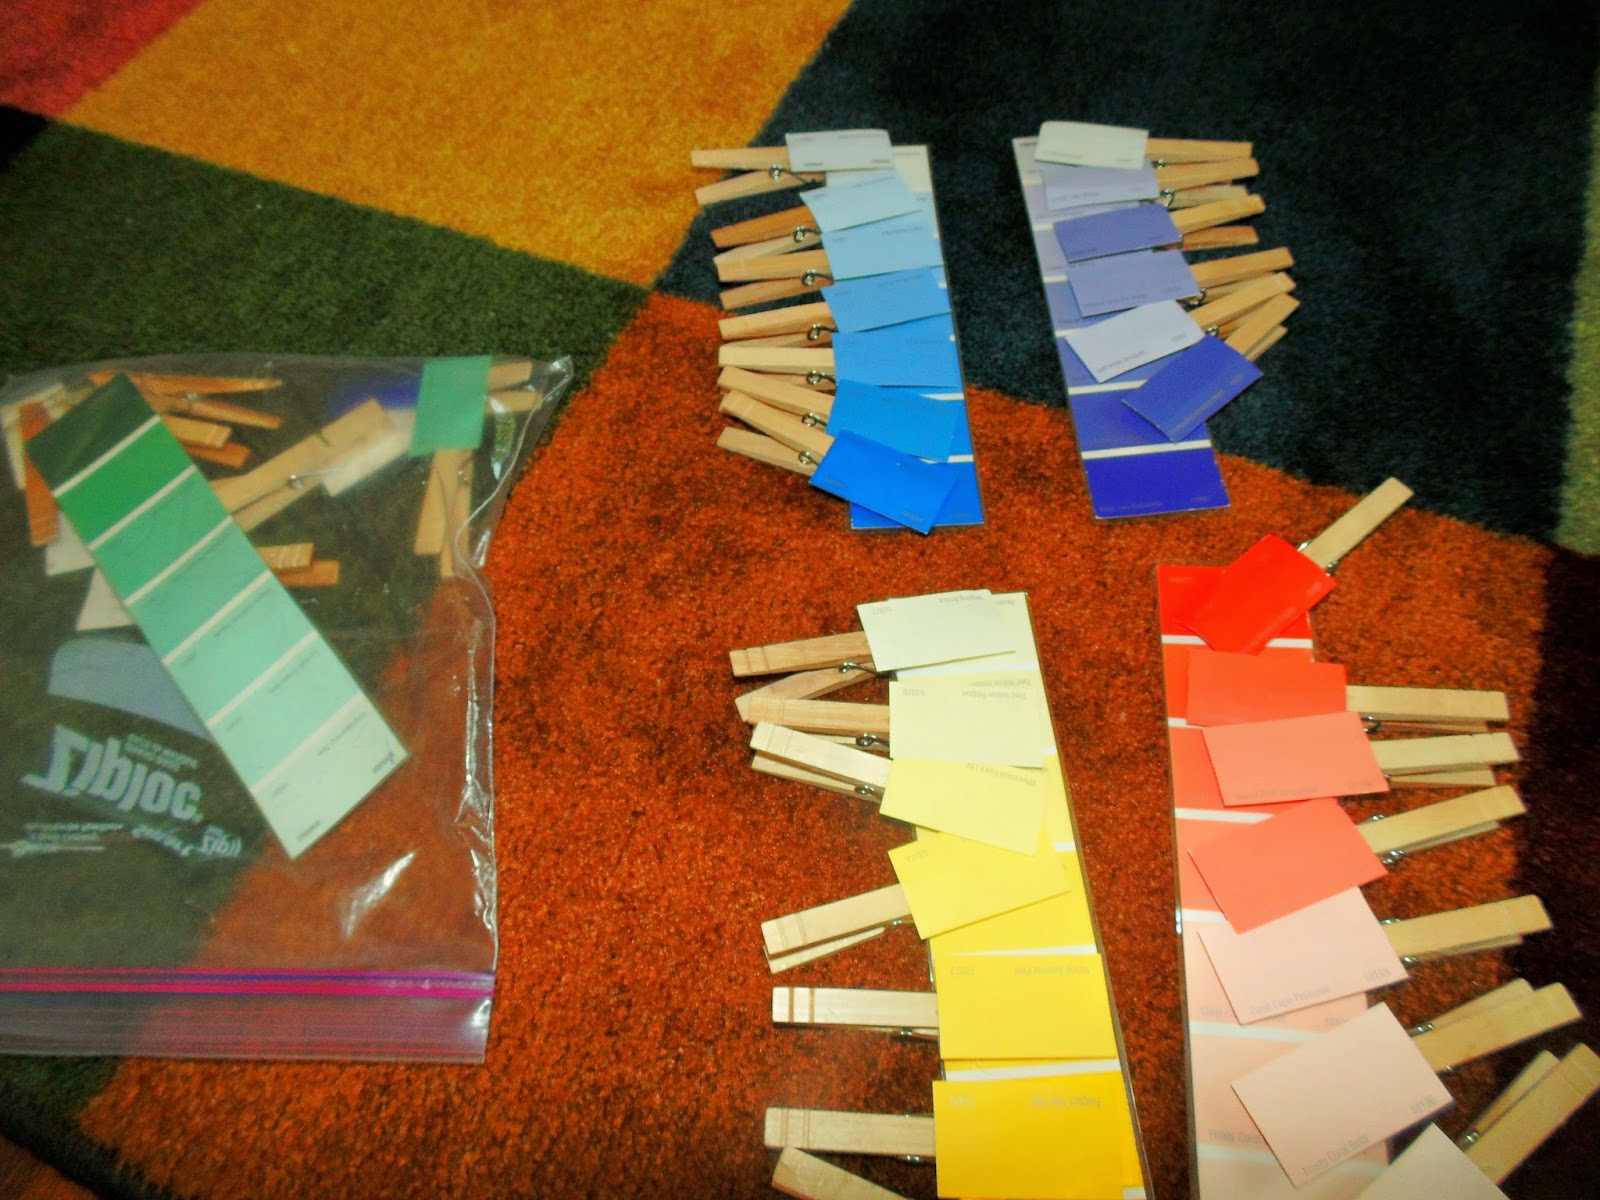
DIY Paint Chip Color Activity: 

I made for my soon-to-be-preschooler to help her practice color recognition and matching same colors and shades.


Materials Used:
* 2 of each color paint chips (ex. 2 reds, 2 oranges, 2 yellows, etc)
* Clothes pins (I bought a package at the Dollar Tree.... I love that place!)
* Hot glue (to glue the paint chip to the clothes pin)
* Scissors (to cut one sheet of paint chips)
* Zip top baggie (for storage) 


And that is it! I took a few minutes of me demonstrating to my daughter how to match the color shades before she caught on....Now she is a pro!


DIY Construction Paper-Object Match Up Activity:


Materials Used:
* Construction paper (I used red, orange, yellow, green, blue, purple, black, and white).
* Objects or toys around the house.
* A basket to place your gathered items in....have your child sort these items by placing the object on the paper that matches the color on the object.


Several objects had multiple colors on them. After discussing with my daughter the different colors on the object we concluded the color that was most present/visible on that object was the same color construction paper she placed the object on.

Note: Since the first time she did this match up activity I wrote the name of the color on the corresponding construction paper sheet. Then I laminated it! Have I ever mentioned how much I love my laminator! Best invention ever for a stay-at-home-mom and in-home-childcare-provider!

May 8, 2014

DIY Fine Motor Development Activity


A couple months back I made this fun game for my daughter to play. She loves it and plays with it at least once a week or more. I like it because it helps her to develop her fine motor skills as well as matching and eye-hand coordination to name a few.

Materials I used:
* A clean, empty Pringles can
* Fuzzy pompom balls (I got in a package from the Dollar Tree)
* Chinese chopsticks for beginners (I got from a Chinese restaurant we dined at, I asked the waiter if we could take two....they said yes as they were just going to dispose of them after we left)
* Scrapbook paper (to wrap around the Pringles can)
* Tape or glue (for the scrapbook paper)


And that's it folks! So simple to make and easy to play!


And one of my favorite parts (as I love organization) is that all the pieces store nicely inside the container! 


My three year old daughter loves picking up colors one at a time. For example she will pick up all the yellow pompoms, then all the orange ones, then the green....and so on and so forth until they are all picked up and placed back into the Pringles can.

If I play with her we will race to see who can pick up their colors the quickest.

Note: The pompoms are a choking hazard for little ones so supervision is needed if you think your child may put them in their month. 

May 5, 2014

Learning the Alphabet.... One Letter at a Time!


I made this little alphabet tracing book for my toddler to help her with tracing and working on her fine motor skills. Using a dry erase marker she follows the lines. Each time she "practices" her writing she gets a little better. To clean up the alphabet book and make it ready for the next time we use a wet washcloth or a baby wipe.


I purchased the colorful paper (no cutting needed as it is already this size) from the Dollar Tree in the school/office supply section. I also purchased the letter/writing paper at the Dollar Tree which I used to write the upper case and lower case letters onto using a permanent sharpie marker. I then cut the writing paper into a smaller size and glued it into the center of the colored paper.


Next I laminated it all! I love my laminator! As a mom to a toddler and a in-home daycare provider I use my laminator way more than I ever imagined I would! Did I mention I love my laminator? I bought it from Walmart for around $30 and the sheets I buy in the big pack as I use them often.To me it's been a great investment!


After I laminated the cards, I hole punched them and added these little rings through the hole punches. I found the rings in the school/office supply section at Walmart.


Don't forget about the 123's! I also included numbers 0-9 for her to trace!

Here is another little tip....I hot glued little pompoms onto the end of the caps of the dry erase markers so she can erase if she wants!


Another thing I love about this book is it is small enough to fit in my purse to take with us for something for her to do in the car, at a restaurant, or while waiting at the doctor's office!

May 2, 2014

Family Year Books

Before my kids were born I loved to scrapbook. After the kids were born I've found that I just do not have the time to scrapbook like I did before they were born. My last scrapbook stops at the summer of 2010...the same summer I became pregnant with my daughter.

I still take lots of pictures .... actually about a couple hundred more now. Time is going by so quickly that I want to try to capture every moment.

Here is a solution to what to do with all those pictures when you do not have time to scrapbook them....

I've created family year books! Here are my last two I've created thanks to help from Shutterfly. These books will run around $29.99 and up plus shipping. Sometimes if you are lucky you can find code discounts and apply them when they have deals/sales going on. I paid only $13 for one of these books using a code and pairing it with a promotional discount they were having that week!

Here are my family year books from 2012 & 2013....

The front covers:
* I used photographs of big events that happened during that year. 

Inside I included:
*birthday celebrations.... 


* holiday celebrations....

* family trips.....


*the announcement of a pregnancy and the gender reveal....


 *the birth of a new family member....

*and other imporant or family year book worthy pictures...

Don't forget to write on the side of the family year book!


And you can put pictures or writing on the back of the family year books as well!


Now I won't feel bad if I do not get back to scrapbooking for a while and those pictures are not just sitting around on my computer waiting to be printed.

April 30, 2014

I Spy....10 Giraffe Spots!

Last night before bed I presented this "I Spy" book I've been working on for my kids! Their reactions were priceless! I loved it...they loved it!

Here is the front cover....


Last weekend I gathered up some toy items around the house and took pictures of them in a pile then loaded the pictures on the computer.

Next I pulled up my word document and posted the pictures and then looked for items in the picture for the kids to "spy".  I then made a list of items for them to find....some are easier than others.


Little People toys.... 

Mr. Potato Head parts.... 

Barnyard animals and toys....

I also photographed their bath toys for another page! 

All together there are eleven pages! I laminated the pages so the book can be read over and over again!

Here is the back page...


As the kids get older I'll add some new things for them to "spy". I purposely bound the book this way so I can add more pages in the future!