March 1, 2014

Safety First - Outlet Covers

Is it time to baby-proof your home? Or maybe it's time to toddler-proof? Either way one of the most common ways to child-proof your home is with these outlet covers (pictured below). It is cheap and super easy to install. But not very attractive and is a pain to keep taking off and putting on whenever you need to plug something in. I found a much better solution. With having a licensed home daycare this is a must!


Here is my solution....


These covers are so easy to install! You just need a screw driver and less than five minutes to install it.

 
When something is unplugged from the outlet it quickly self-closes. This is my favorite part especially on outlets where our night lights are located. I'm also a fan of having them in the kitchen were electronics and appliances are plugged and unplugged several times a day.  So where can you find these covers and how much do they cost? I did a quick search online and found that Babies R' Us carries them in store or you can have them shipped to you. Here is a link to that one. It costs less than $4 for a 2 pk. Or I found several on Amazon. Click here to see what I found there. The one I found on there is less than $7 for a 2 pk. and shipping is less than $1. 

The plate covers cost a little bit more than the little plastic outlet covers but are more attractive and (in my opinion) less of a pain to plug and unplug.

Hair Accessories Organized

Do you have a daughter or grand-daughter who loves hair accessories as much as mine does? Do you like having her hair accessories organized? I've got two really cute (and easy) ways to organize and display them.


First find a sturdy picture frame...I got mine from our local Goodwill store. You might even have good luck finding some cheap ones at a garage sale. Then get some ribbon ... I found some in the dollar bin at Michael's Craft Store. Next you'll need to visit the hardware store .... I got my husband to picked up several hooks to put on the bottom of the frame during one of his trips to the hardware store. Now you'll need to put that ribbon in place...I hot glued the ribbon to start. Then I had my husband reinforce the ribbon with a quick staple using his staple gun on the top and bottom of the picture frame. Next I had him put the hooks on the bottom and add a hook on the back to hang the frame. Now you can embellish it anyway you want.....I had an extra fake flower collecting dust in the craft area so I hot  glued that onto the top right corner and glued a large rhinestone in the center. Super easy and super cute!


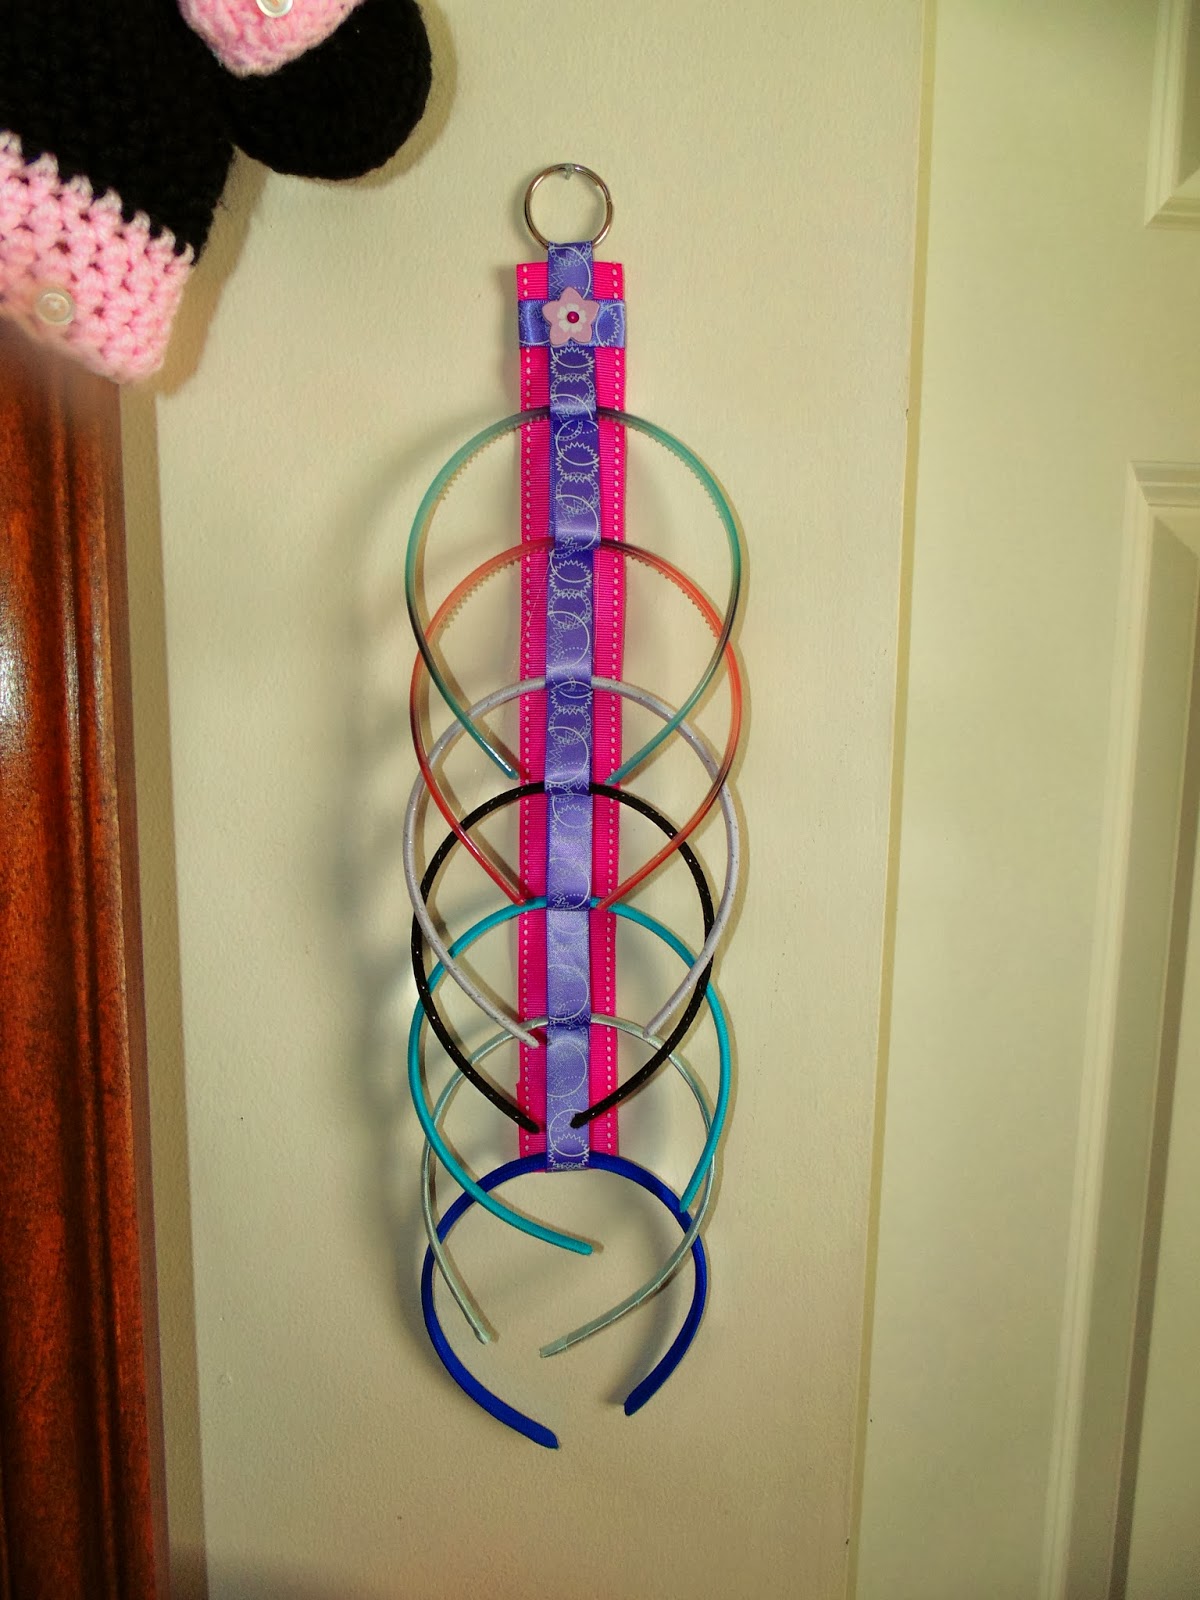
This next project was much easier than I thought it would be! I am a very basic beginner at using my sewing machine and I'm almost all self-taught. Though you could sew this one by hand if you do not have a sewing machine. Again I picked up two ribbons (one wider than the other) from the dollar bin at Michael's Craft Store. I had a metal ring (used to hang it on the wall) sitting around in my craft area but you can find them at Walmart in the school/office supply area in a small package. I keep things like this in my craft area as a "just in case" item. I got my inspiration for this DIY organization project here

Happy DIYing!

February 25, 2014

Picture Perfect


I love pictures and adding personal touches to rooms in my house...

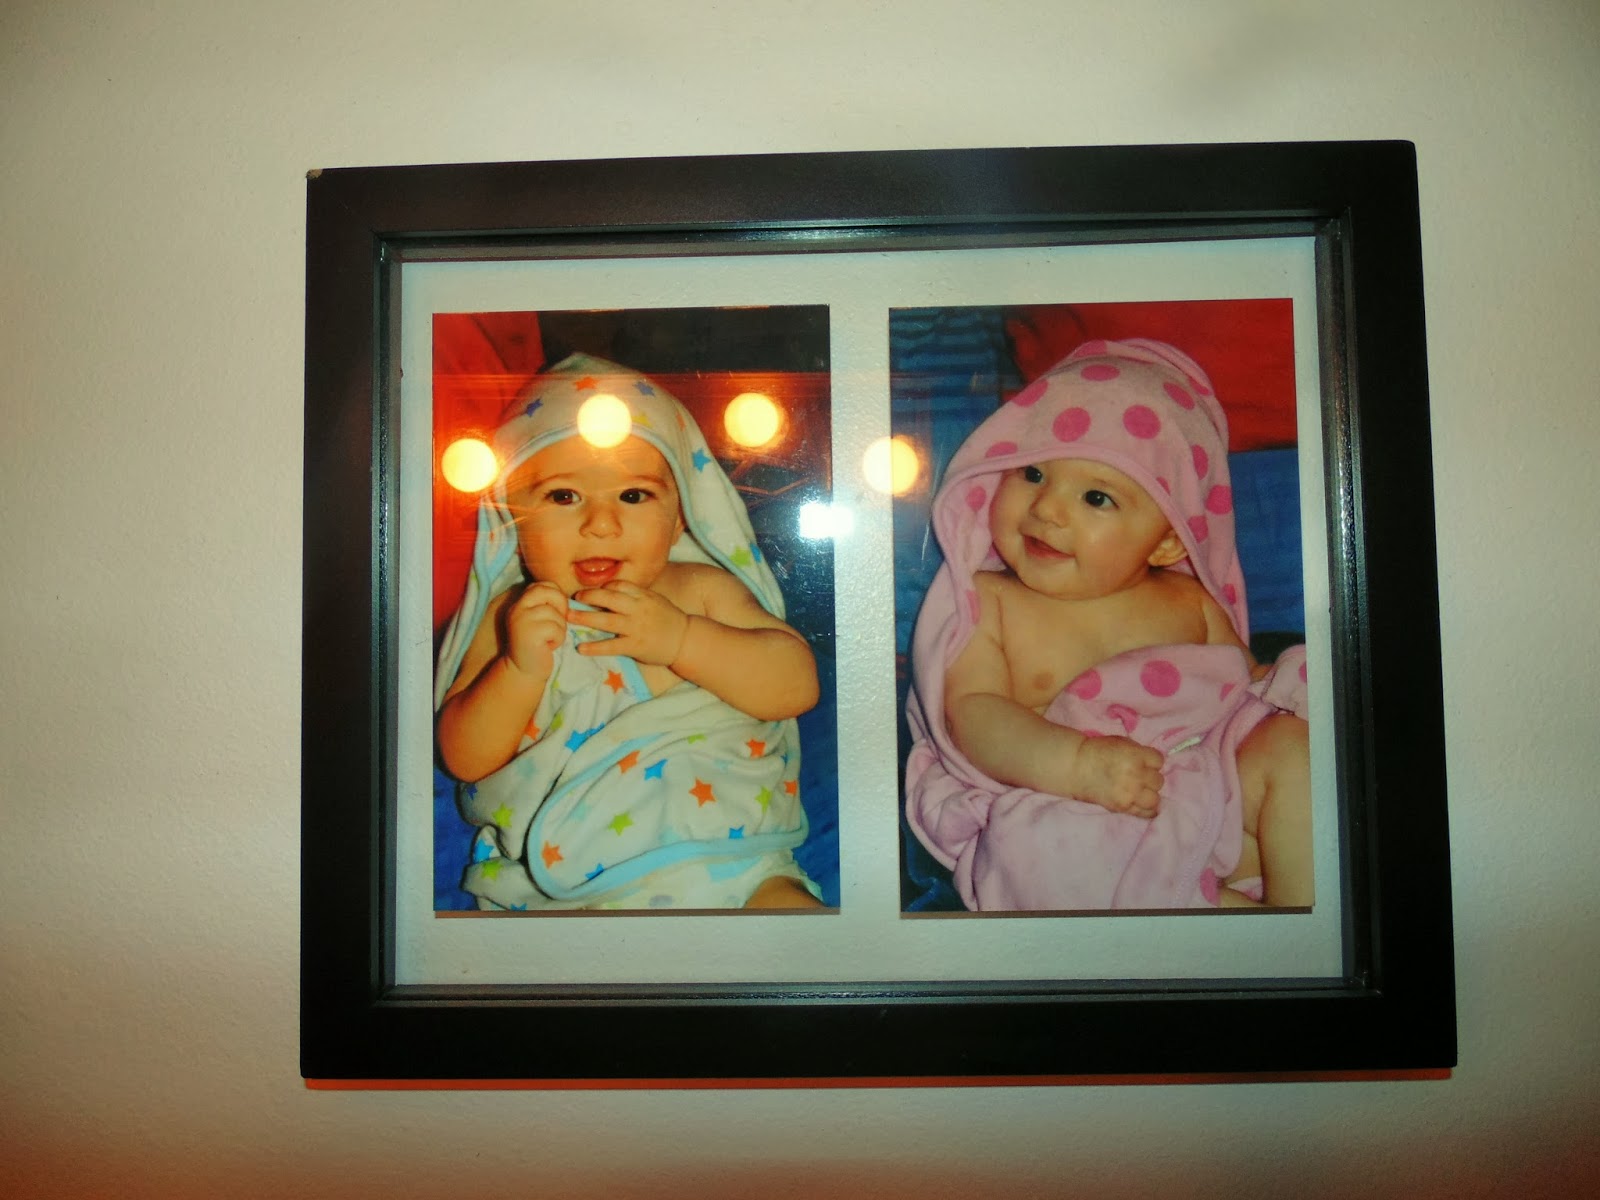
This picture hangs in our bathroom on our main level. It is two of my favorite pictures of my kids. Both pictures were taken when my kids were the same age (6 months).

The picture frame I purchased on sale (and with a coupon) from Michael's Craft Store. The only time I buy picture frames are when they are on sale (and a bonus is with a coupon). I usually pick up several frames and then I have some on hand when another adorable family picture is taken or to use as a gift.


Another cute framed keepsake....The "picture" above is of my daughters hospital hat. I put it in a shadow box (cost around $4 on sale). I used my computer and printer to print of her height, weight, birth date and time. Next I glued the printed information onto a piece of scrapbook paper.  The whole thing took less than 10 minutes to complete and assemble! It now hangs on the wall above her bed. I just made one for my son's room as well! Super cute!


Pictured above: I came across an adorable way to display my daughter and son's birth announcement information. It's a great reminder and also has come in handy when I'm filling out forms or answering questions about their birth! 


This is one of my new favorite ways to display my children's artwork. I have two matching picture frames (one for each child) on the wall in the living room near the front door. I got these frames from LTD (for less than $10 each). Here is a link to one similar on Amazon.  I like that it easily opens up on the front so you can quickly place new artwork inside!


The picture above was a rainy day art project. We used empty toilet paper rolls and some acrylic paint. It was fun and easy to make. It is now framed and hanging on the wall in our bedroom.

February 23, 2014

How Tall Are You?


Here is a cute way to keep track of your child's growth without making marks on the wall! Pictured above is the growth chart I made for my daughter. Below is a picture of the one I made for my son.


Below is a close-up of the marks we have been making for my daughters growth chart. We make a new mark every 6 months! I use a sharpie to make the new mark.


The last time we made marks on my daughters growth chart (on her birthday in January) she wanted to see how tall her dolls are! We also measured how many dolls it would take to reach her height. 


 Materials Used:
* Wood boards I had my husband pick up from Menard's and cut to size
* Paint & paint brush (for my daughter's board)
* Wood stain and a sponge paint brush (for my son's board)
* Paint pens (to make the ruler lines) 
* Stickers and letter stickers 
* Wire and circle eyelet screws (to hang)